Project North Star - 3D Printing Reference
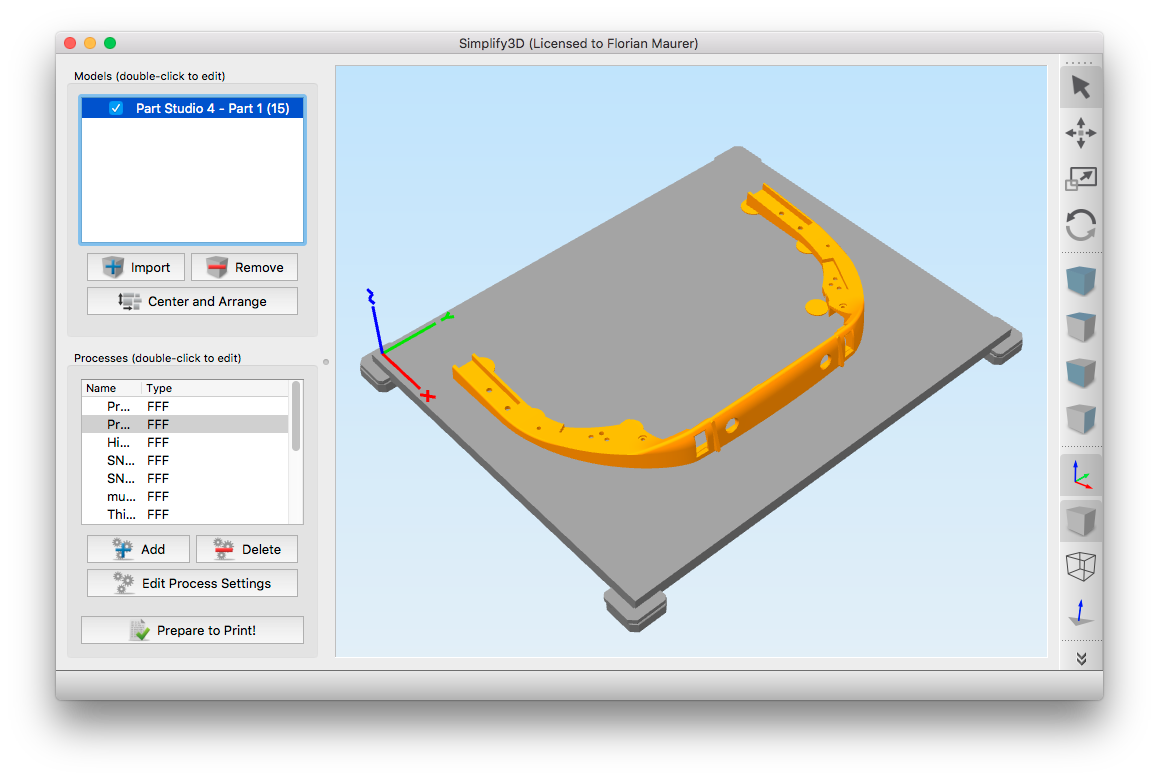
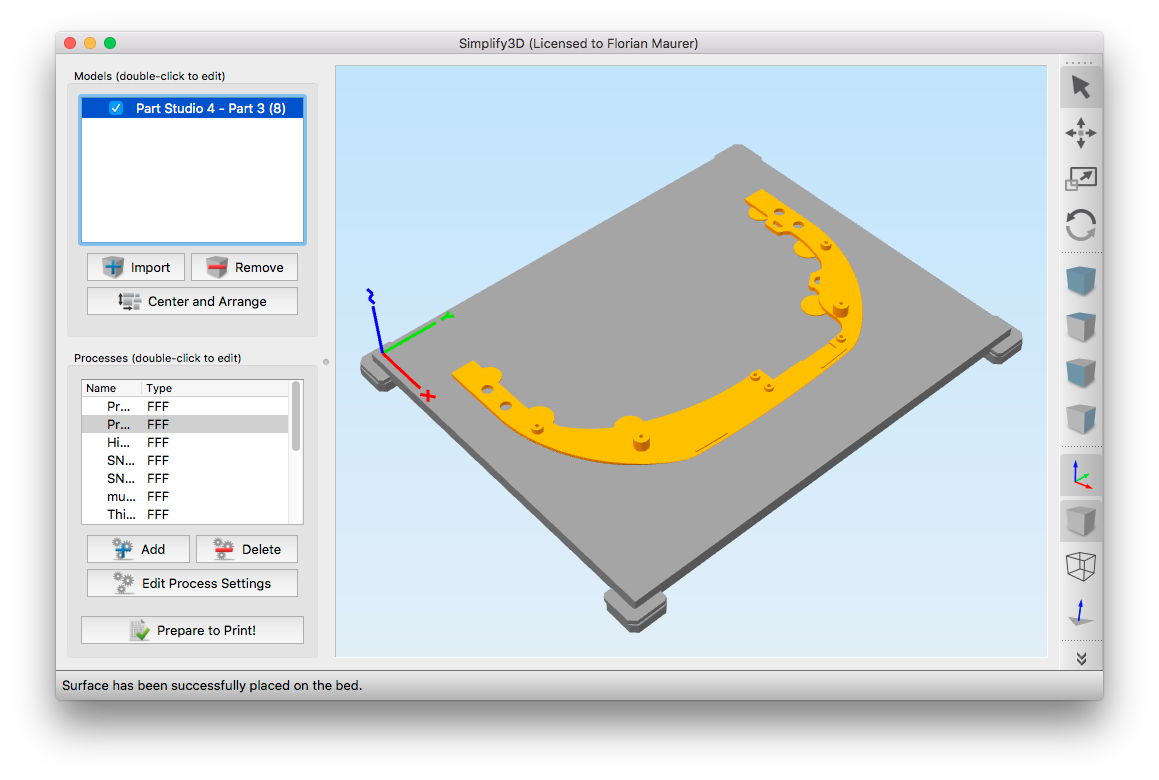
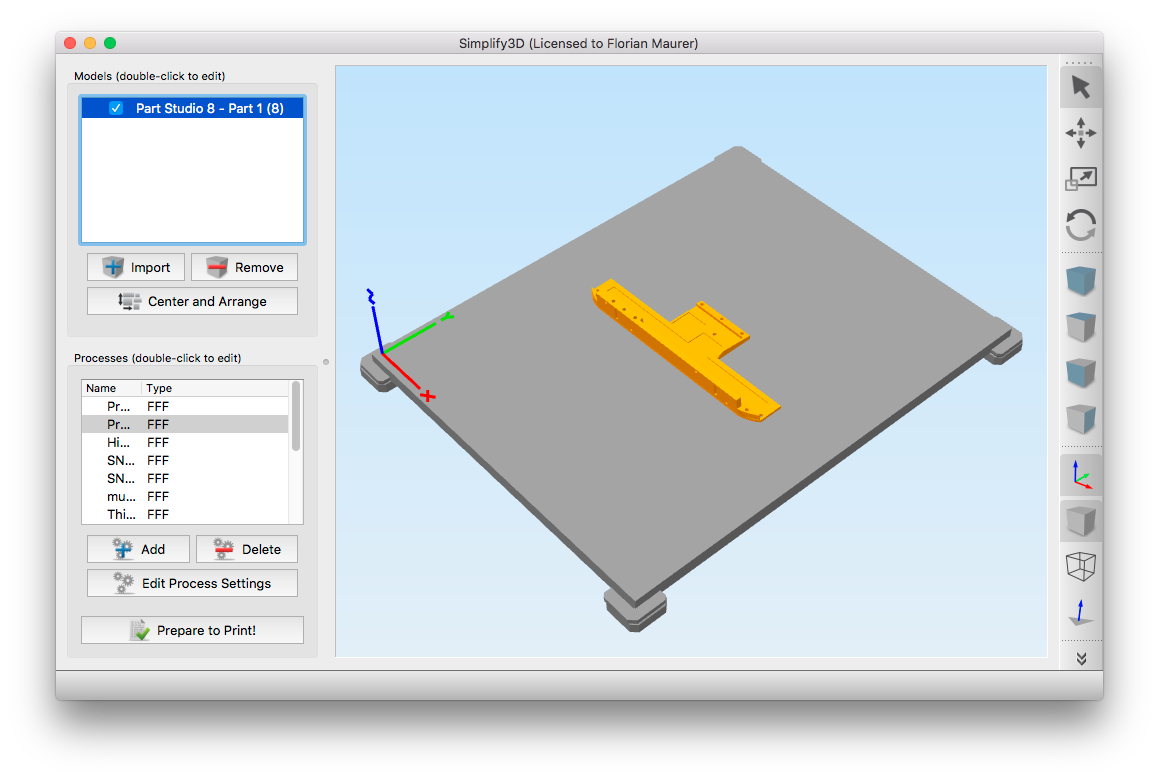
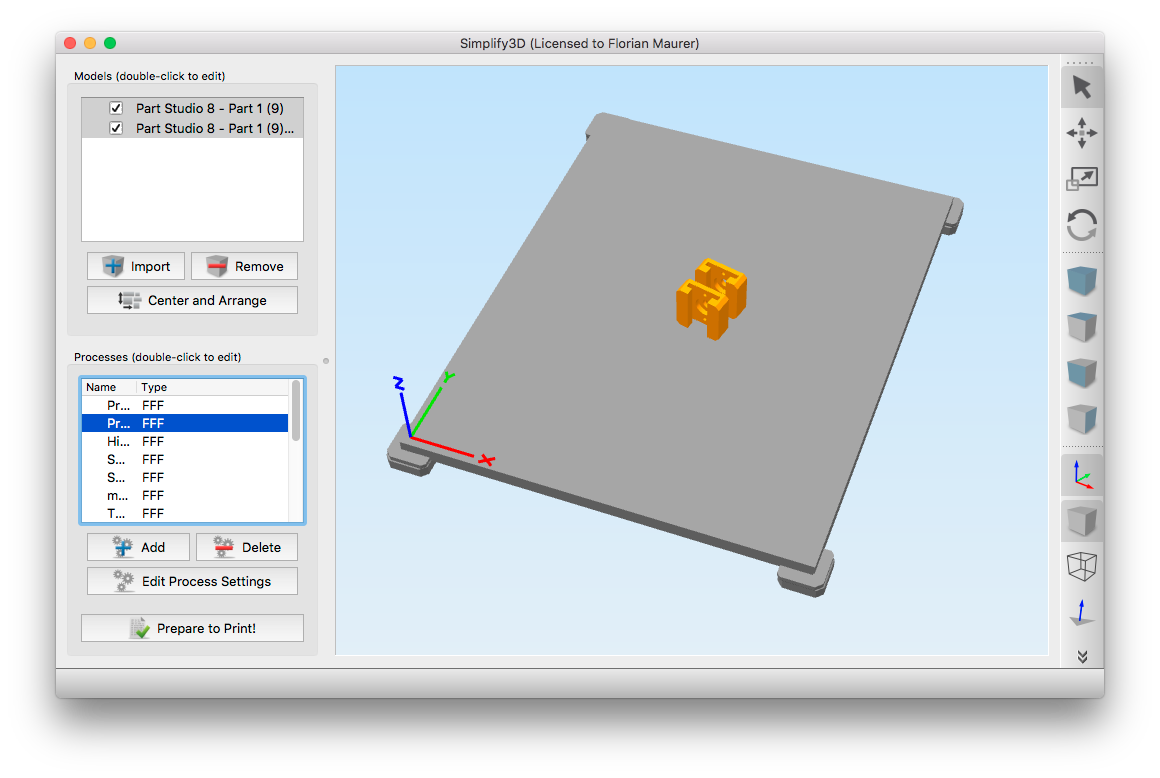
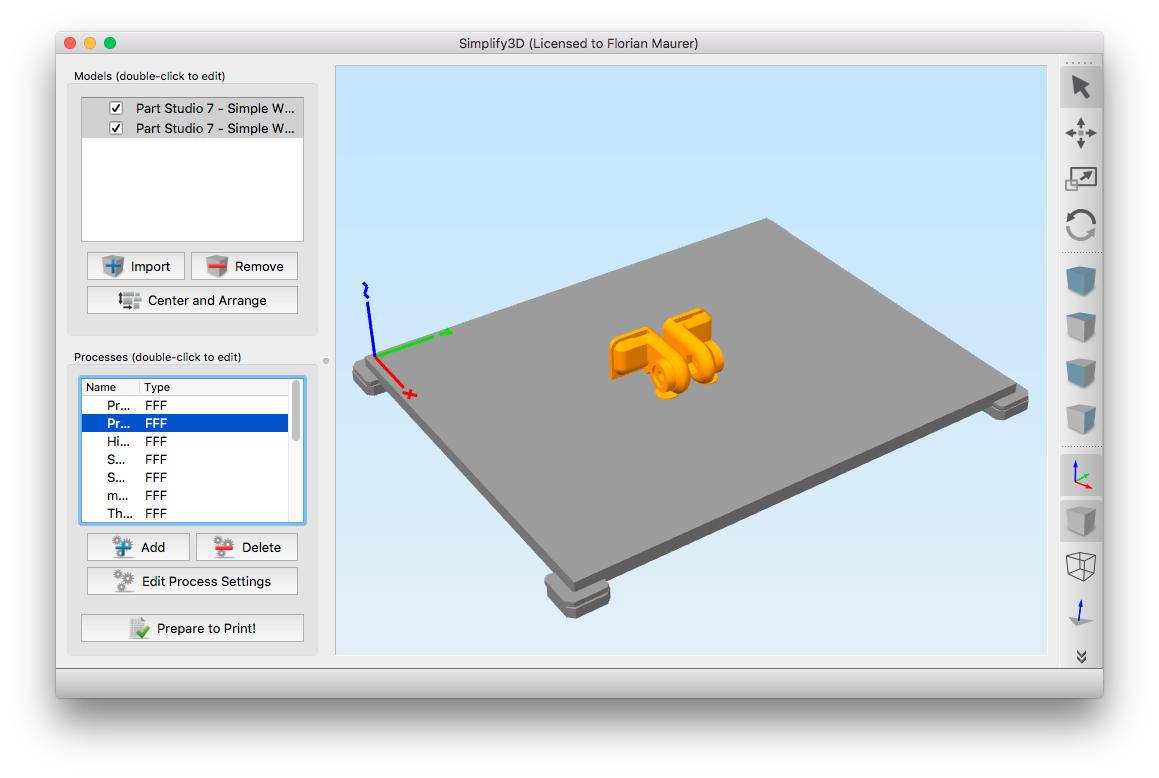
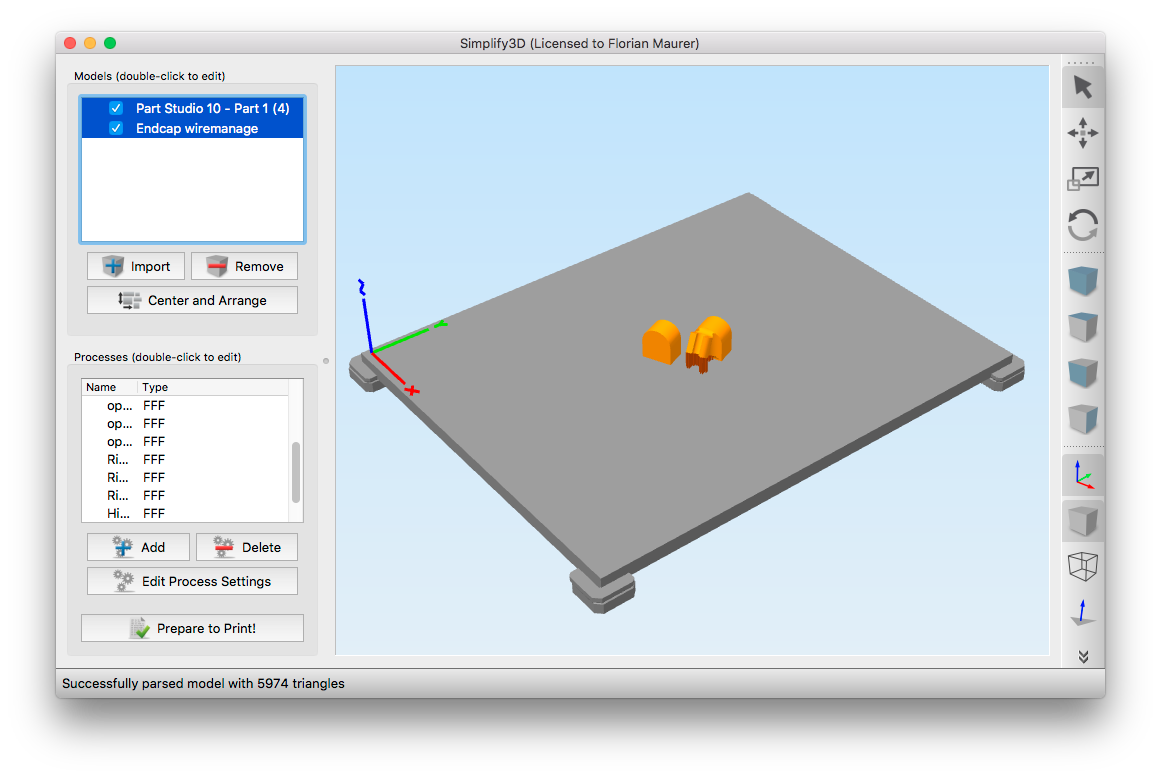
Note: Use your slicer's part orientation tools to ensure flat contact with print surface. In Simplify 3D, it can be found in the menu "Edit > Place Surface On Bed"
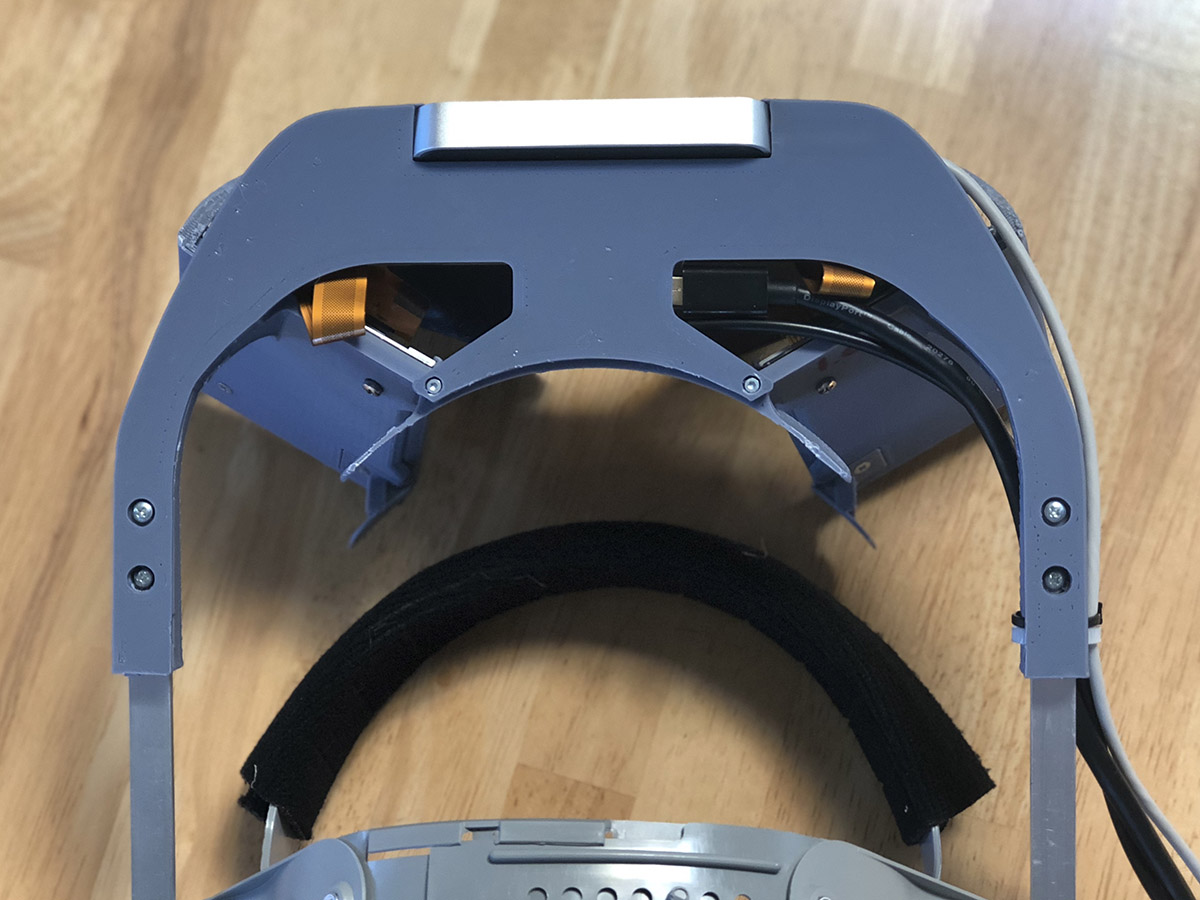
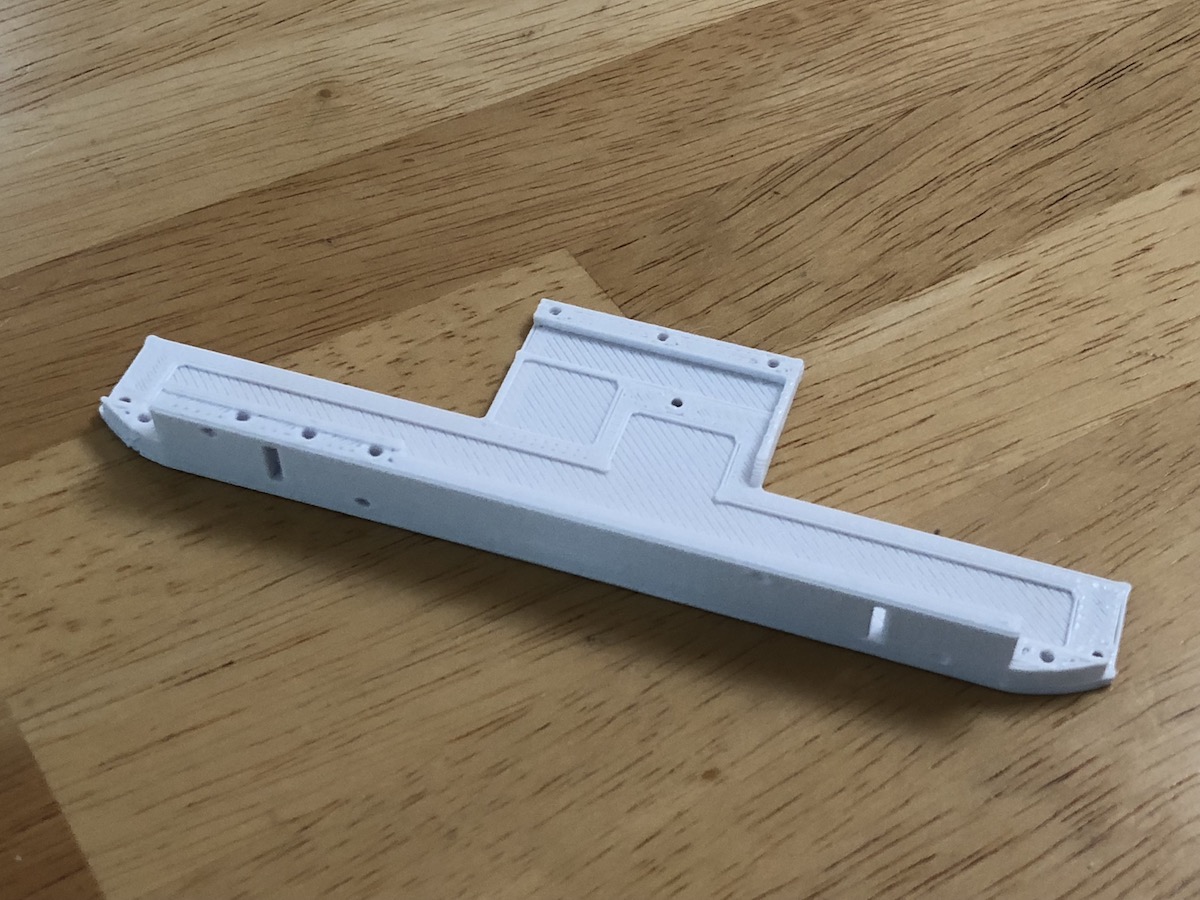
Optics Bracket
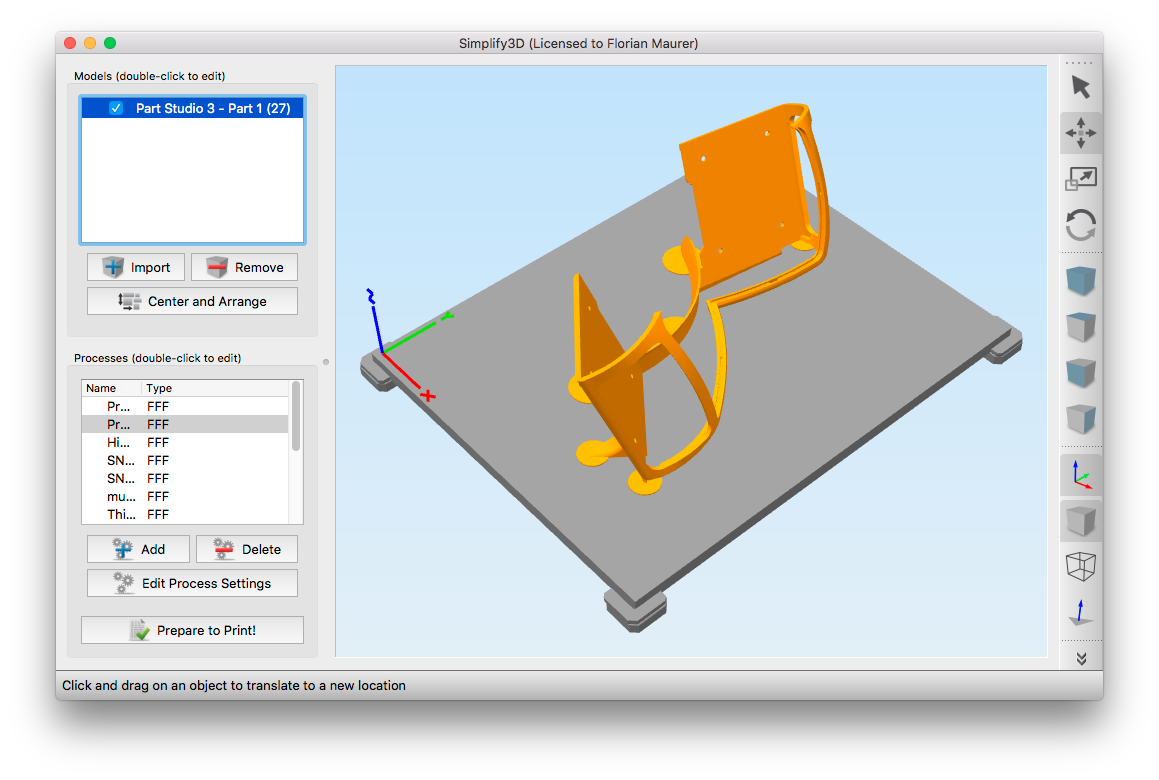
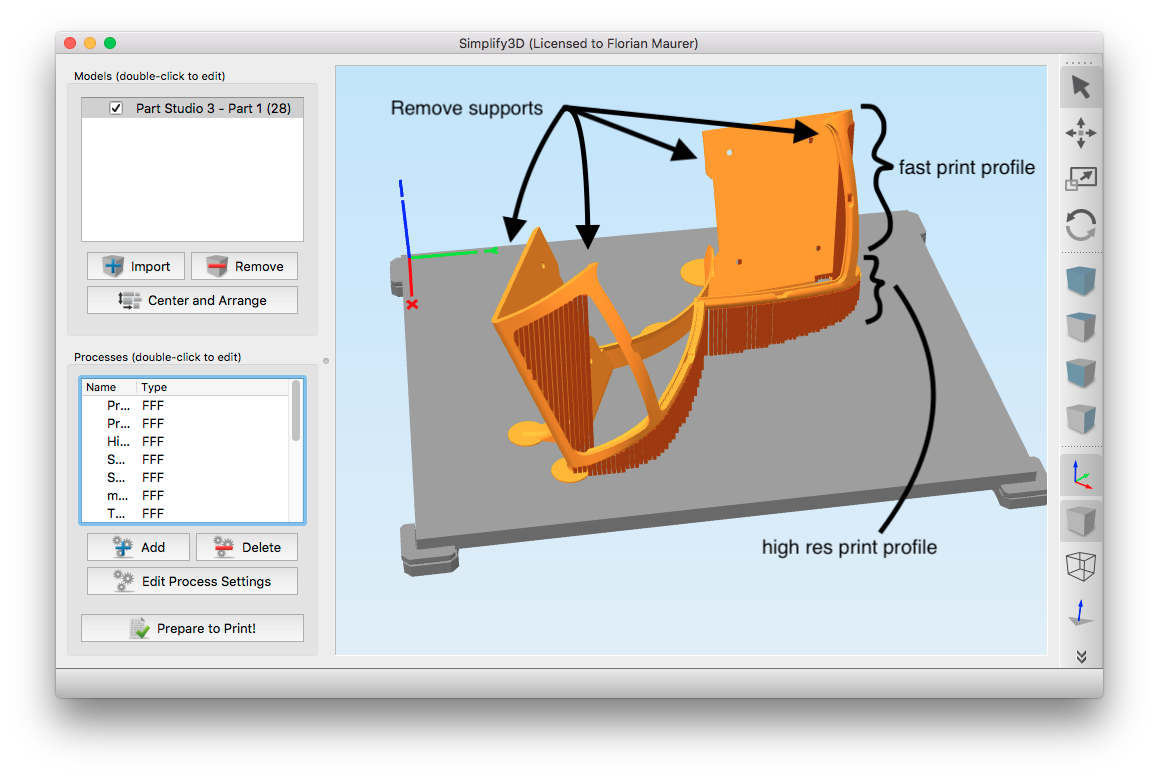
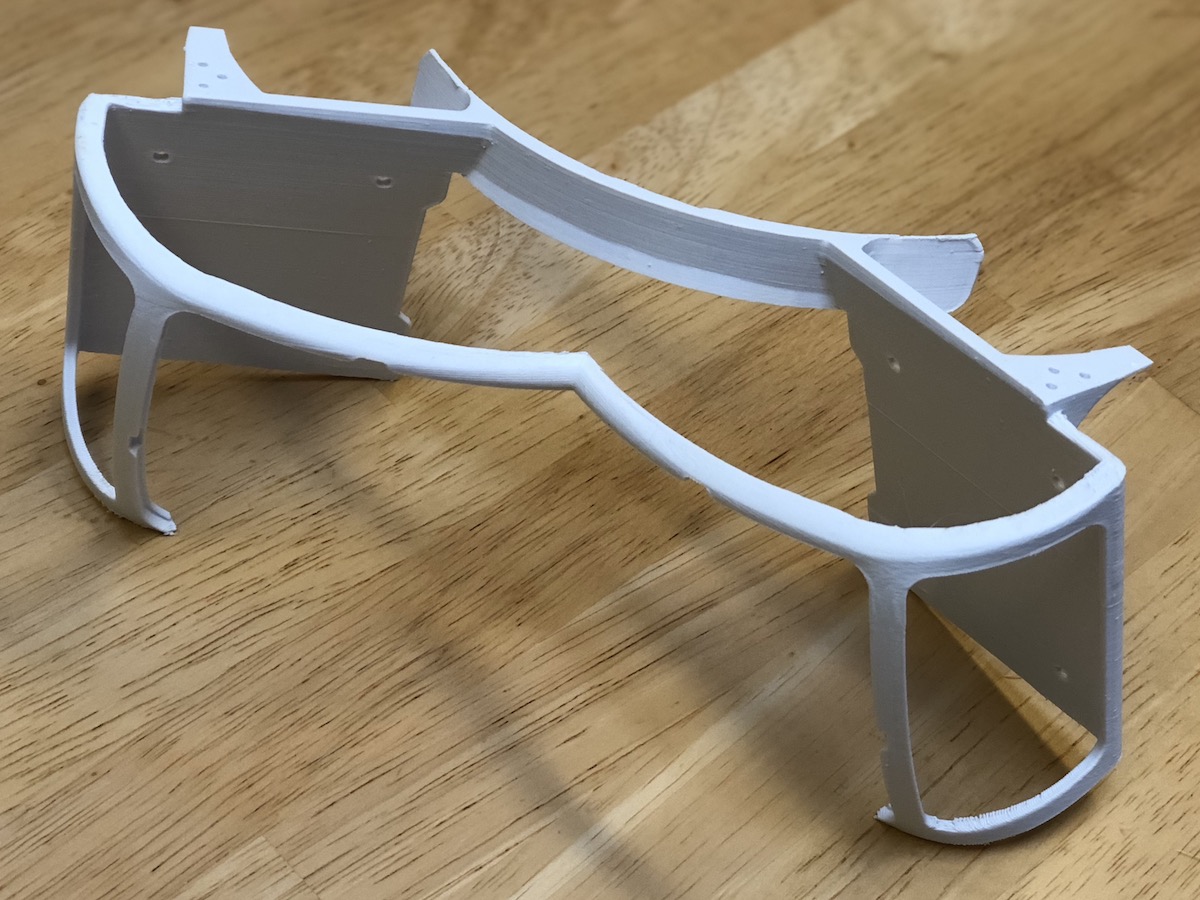
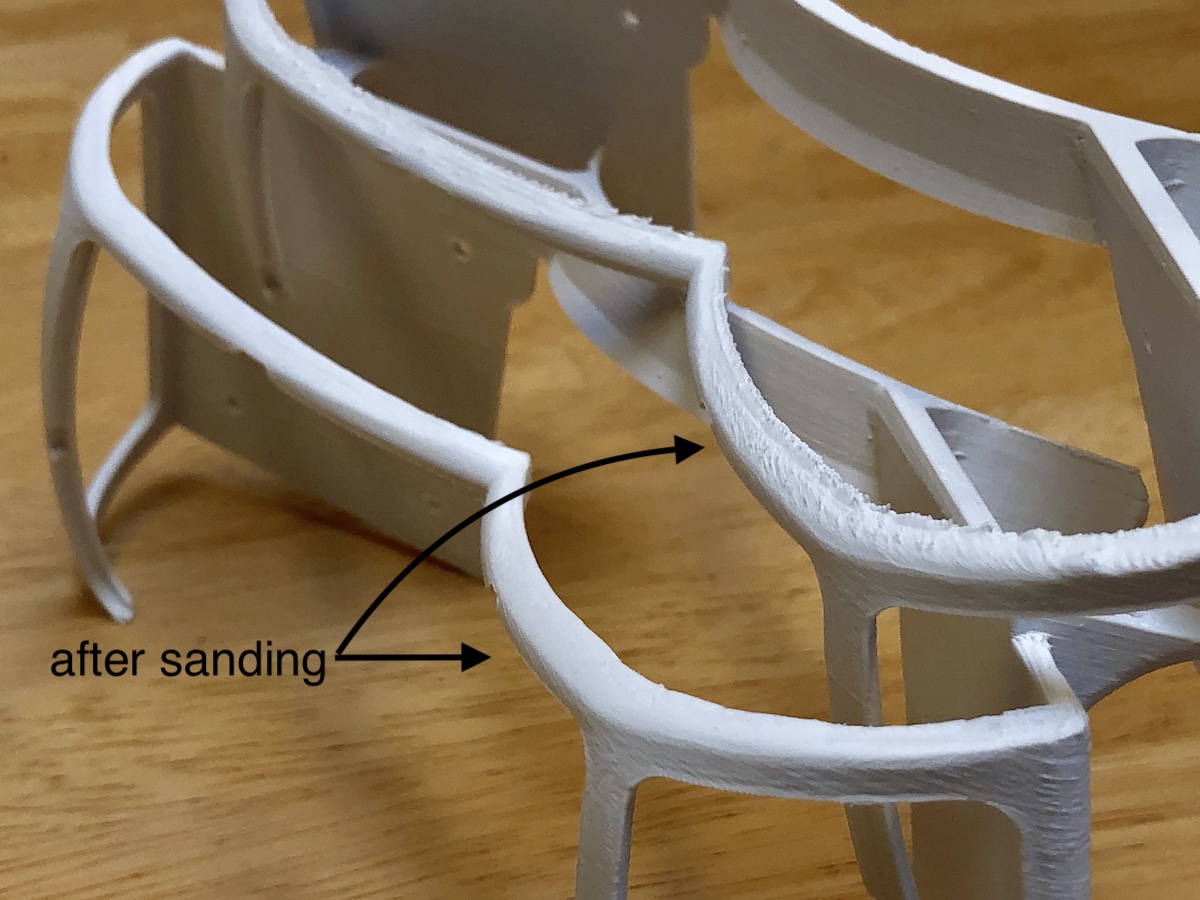
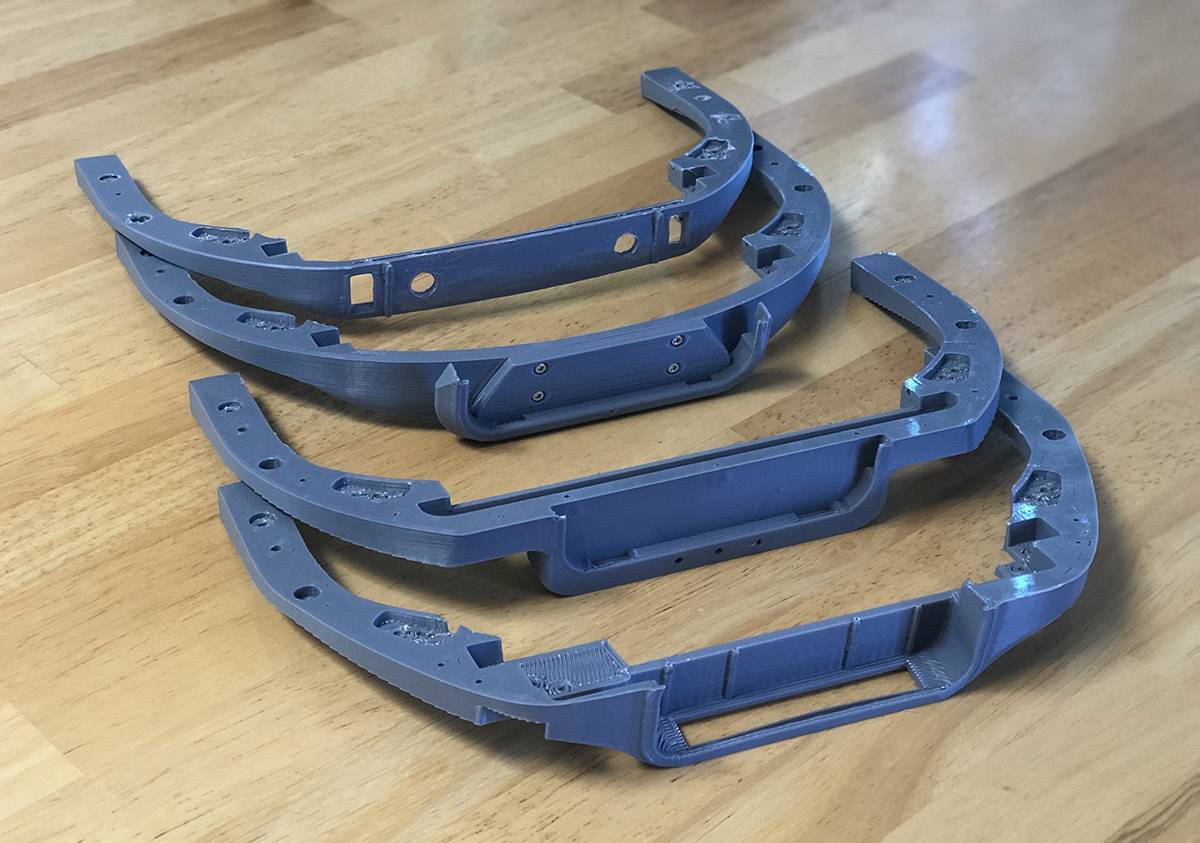
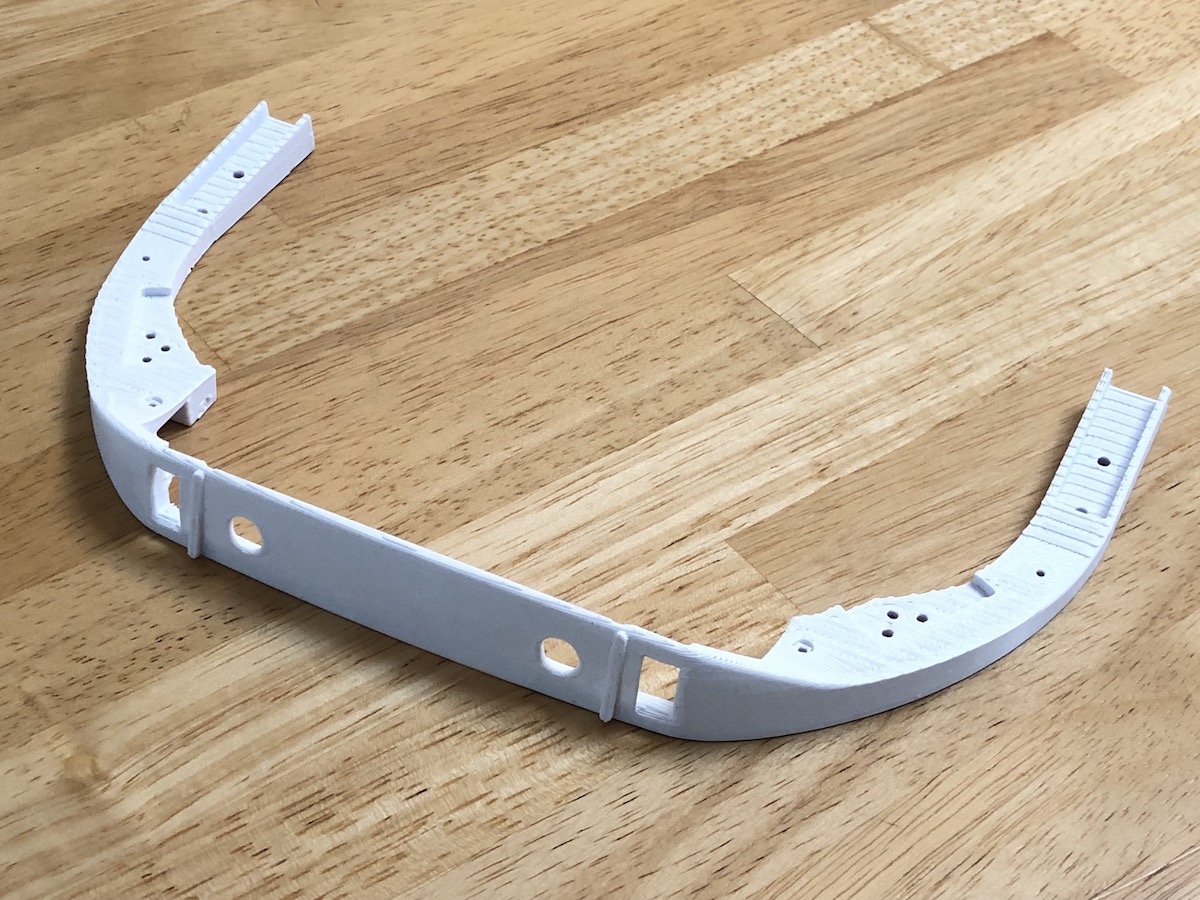
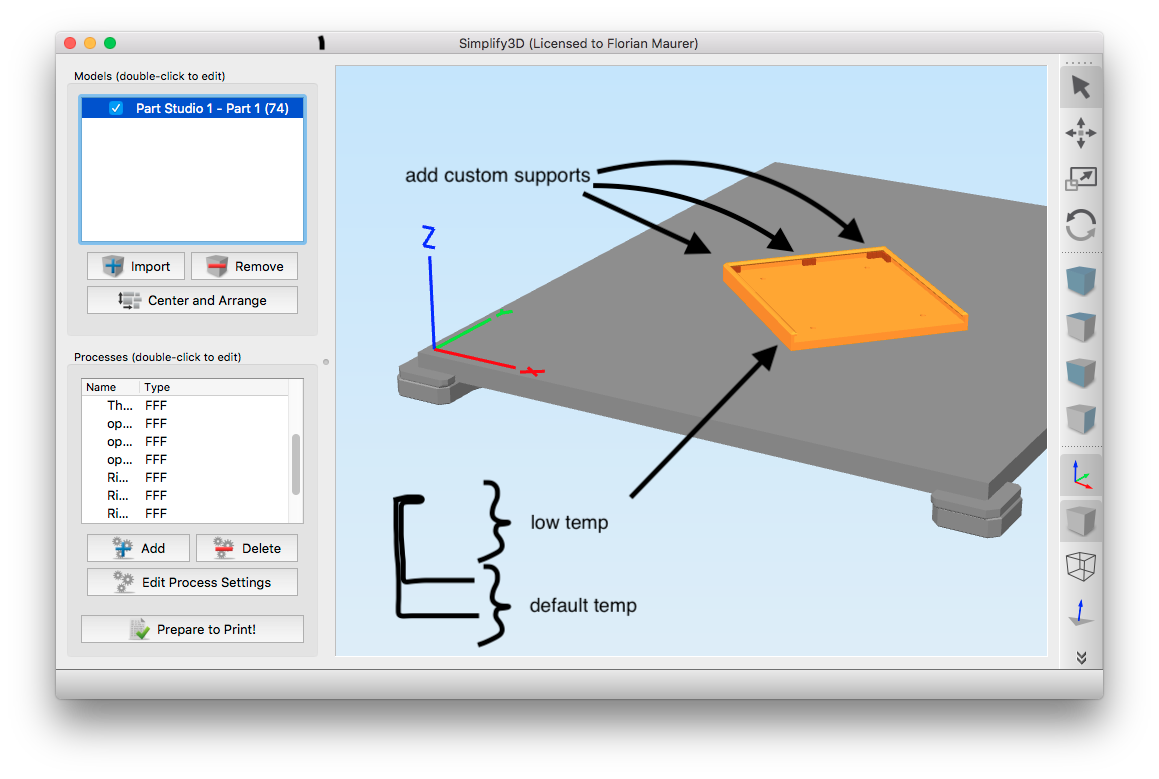
The optics bracket is the most difficult part to FDM print. The toed-in optics and long thin beams require a tuned printer and large print bed (200x250mm). To reduce the chance for print failure, support material is manually removed where it is thin and tall (see image below). Furthermore, to alleviate the finishing work, the print is separated into 2 print profiles: fast and high-res. The high-res profile's goal is to reduce stepping on the near-horizontal crossbeam. Afterwards, a file and 220-grit sandpaper very quickly make the surface passable without the need for filler. Although printing the entire bracket with one profile also produces good brackets, this hybrid solution saved time and produced better results without much effort. Makes sense if a file and sand paper is already available.
All the optical components are mounted to this bracket. Take your time, be meticulous. It's crucial that care is taken in producing a good print. This will save time during calibration.
| Print from: 0 - 5mm: |
| layer height | 0.25mm |
| infill | 20% rectilinear |
| top/bottom layers | 3 |
| perimeter walls | 2 |
| temperature | 200 C |
| supports | yes, 60% infill |
| Print from: 5 - 32mm: |
| layer height | 0.15mm |
| infill | 20% rectilinear |
| top/bottom layers | 6 |
| perimeter walls | 3 |
| temperature | 200 C |
| supports | yes, 40% infill |
| Print from: 32mm - end: |
| layer height | 0.25mm |
| infill | 20% rectilinear |
| top/bottom layers | 3 |
| perimeter walls | 2 |
| temperature | 200 C |
| supports | yes, 60% |
Halo
Choose the correct halo for the Leap Motion module you're using. There are currently two variants: one for the released Leap Motion Controller and one for our custom ultra-wide FOV module not yet available.
| layer height | 0.25mm |
| infill | 20% rectilinear |
| top/bottom layers | 3 |
| perimeter walls | 3 |
| temperature | 200 C |
| supports | yes |
Lid
Choose the matching lid for the halo you're using. There are currently two variants: one for the released Leap Motion Controller and one for our custom ultra-wide FOV module not yet available.

| layer height | 0.25mm |
| infill | 20% rectilinear |
| top/bottom layers | 3 |
| perimeter walls | 2 |
| temperature | 200 C |
| supports | yes |
Electronics Tray
Only needed for the custom hand tracking module. If you're using the Leap Motion Controller inside a metal housing, you don't need this part.
| layer height | 0.25mm |
| infill | 20% rectilinear |
| top/bottom layers | 3 |
| perimeter walls | 2 |
| temperature | 200 C |
| supports | no |
USB Strain relief
Only needed for the custom hand tracking module. If you're using the Leap Motion Controller inside a metal housing, you don't need this part.
| layer height | 0.25mm |
| infill | 20% rectilinear |
| top/bottom layers | 3 |
| perimeter walls | 2 |
| temperature | 200 C |
| supports | no |
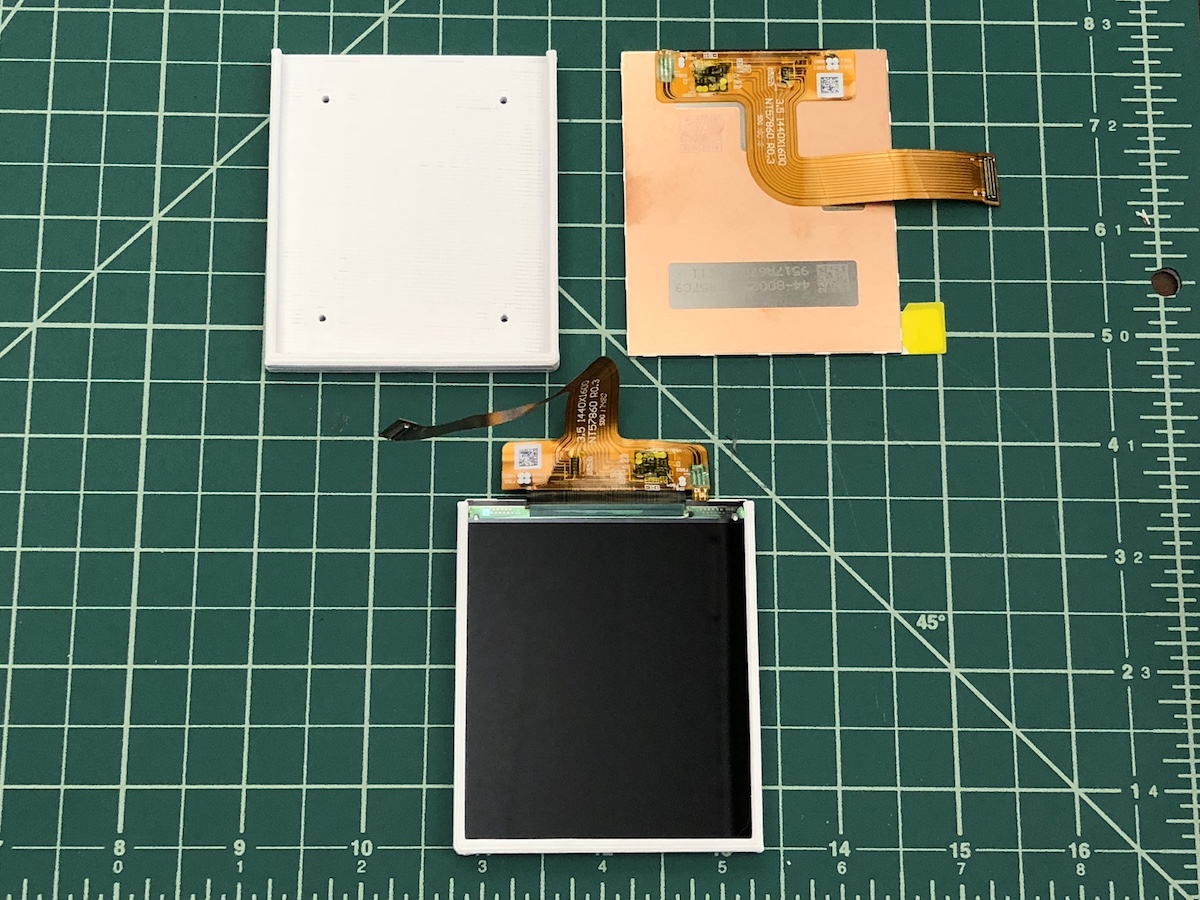
Display Tray
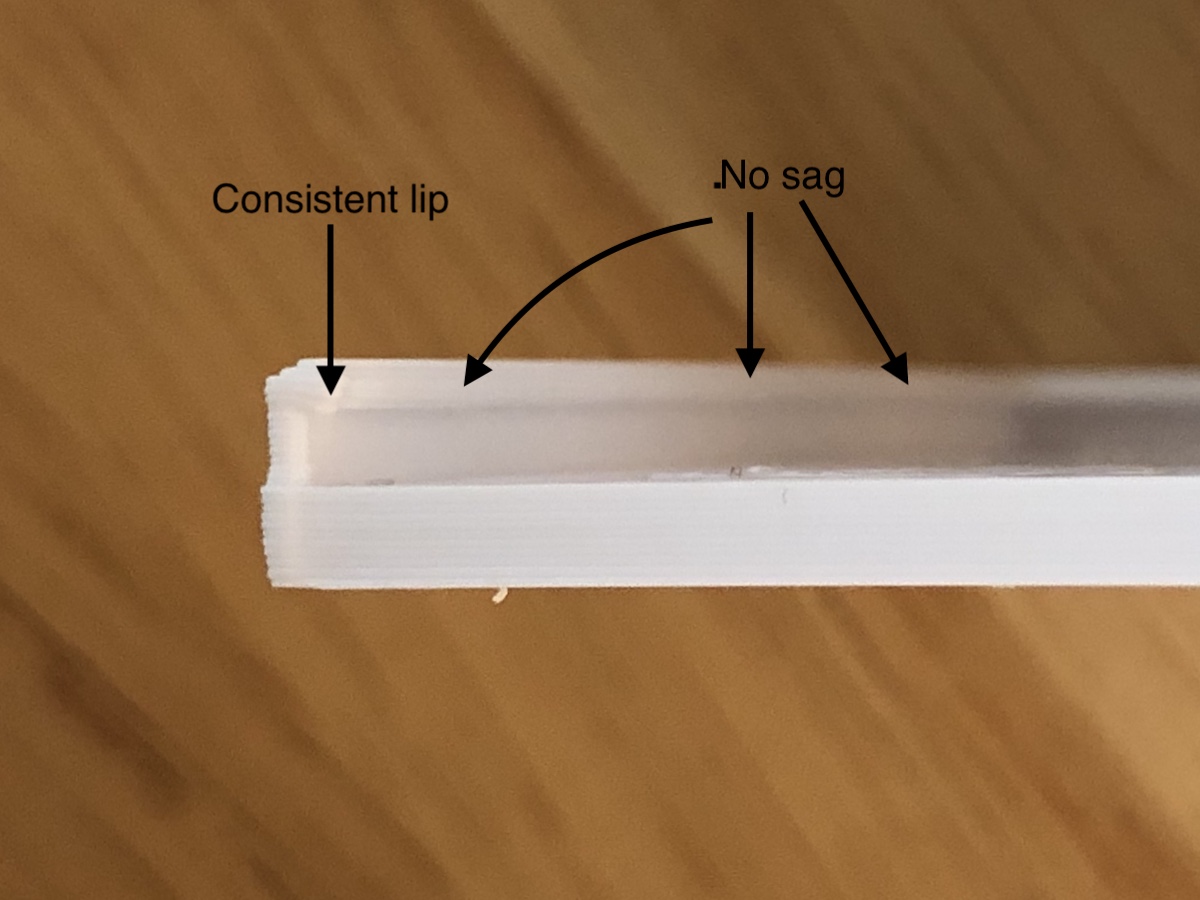
The print is done using multiple print profiles to minimize the need for support material. By printing the feature at a lower temperature the plastic can span longer distances without support. Also, align the print roughly as shown (~45 degrees) to prevent the support material from printing orthogonal to lip, which makes it harder to remove in post.
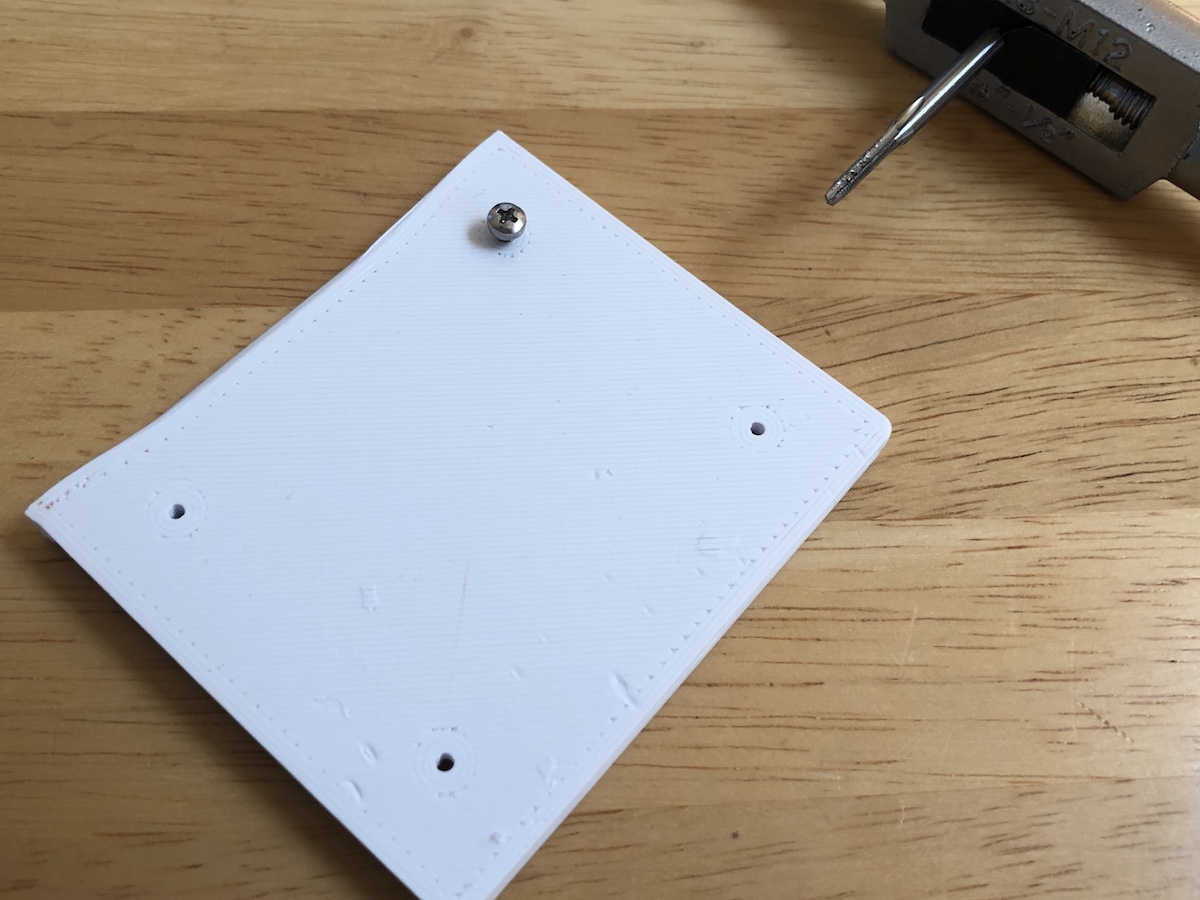
After printing, remove and clean up any support material so that the display slides in easily. We used a sharp chisel to scrap away any remaining plastic burs.
Check the lip of the part is flat and consistent throughout to prevent any extra light leaking from the edges of the LCD panels.
Optional step is tapping the screw holes to make sure any extra plastic is removed and the screws will fasten smoothly.
| Print from: 0 - 3mm: |
| layer height | 0.25mm |
| infill | 20% rectilinear |
| top/bottom layers | 3 |
| perimeter walls | 2 |
| temperature | 200 C |
| supports | yes |
| Print from: 3mm - end: |
| layer height | 0.25mm |
| infill | 20% rectilinear |
| top/bottom layers | 3 |
| perimeter walls | 2 |
| temperature | 190 C |
| supports | yes |
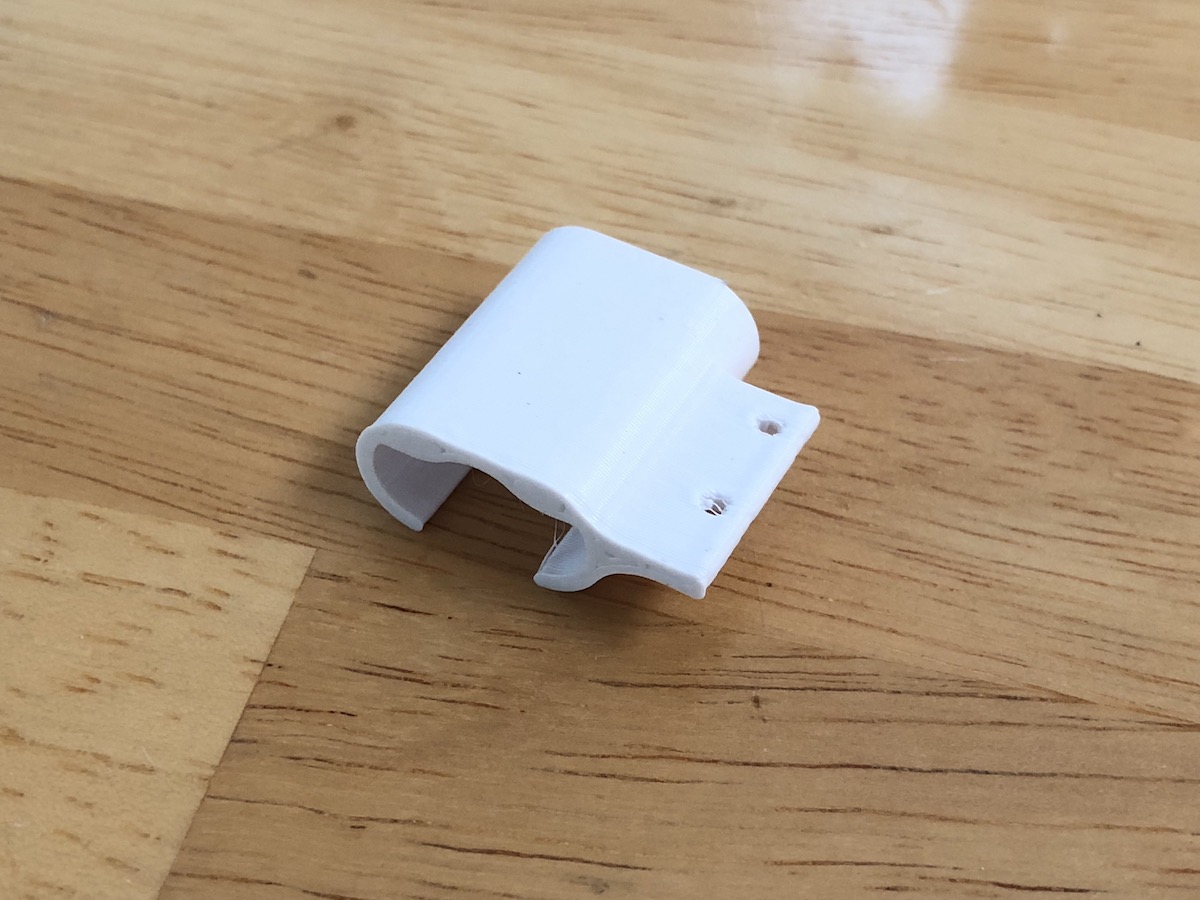
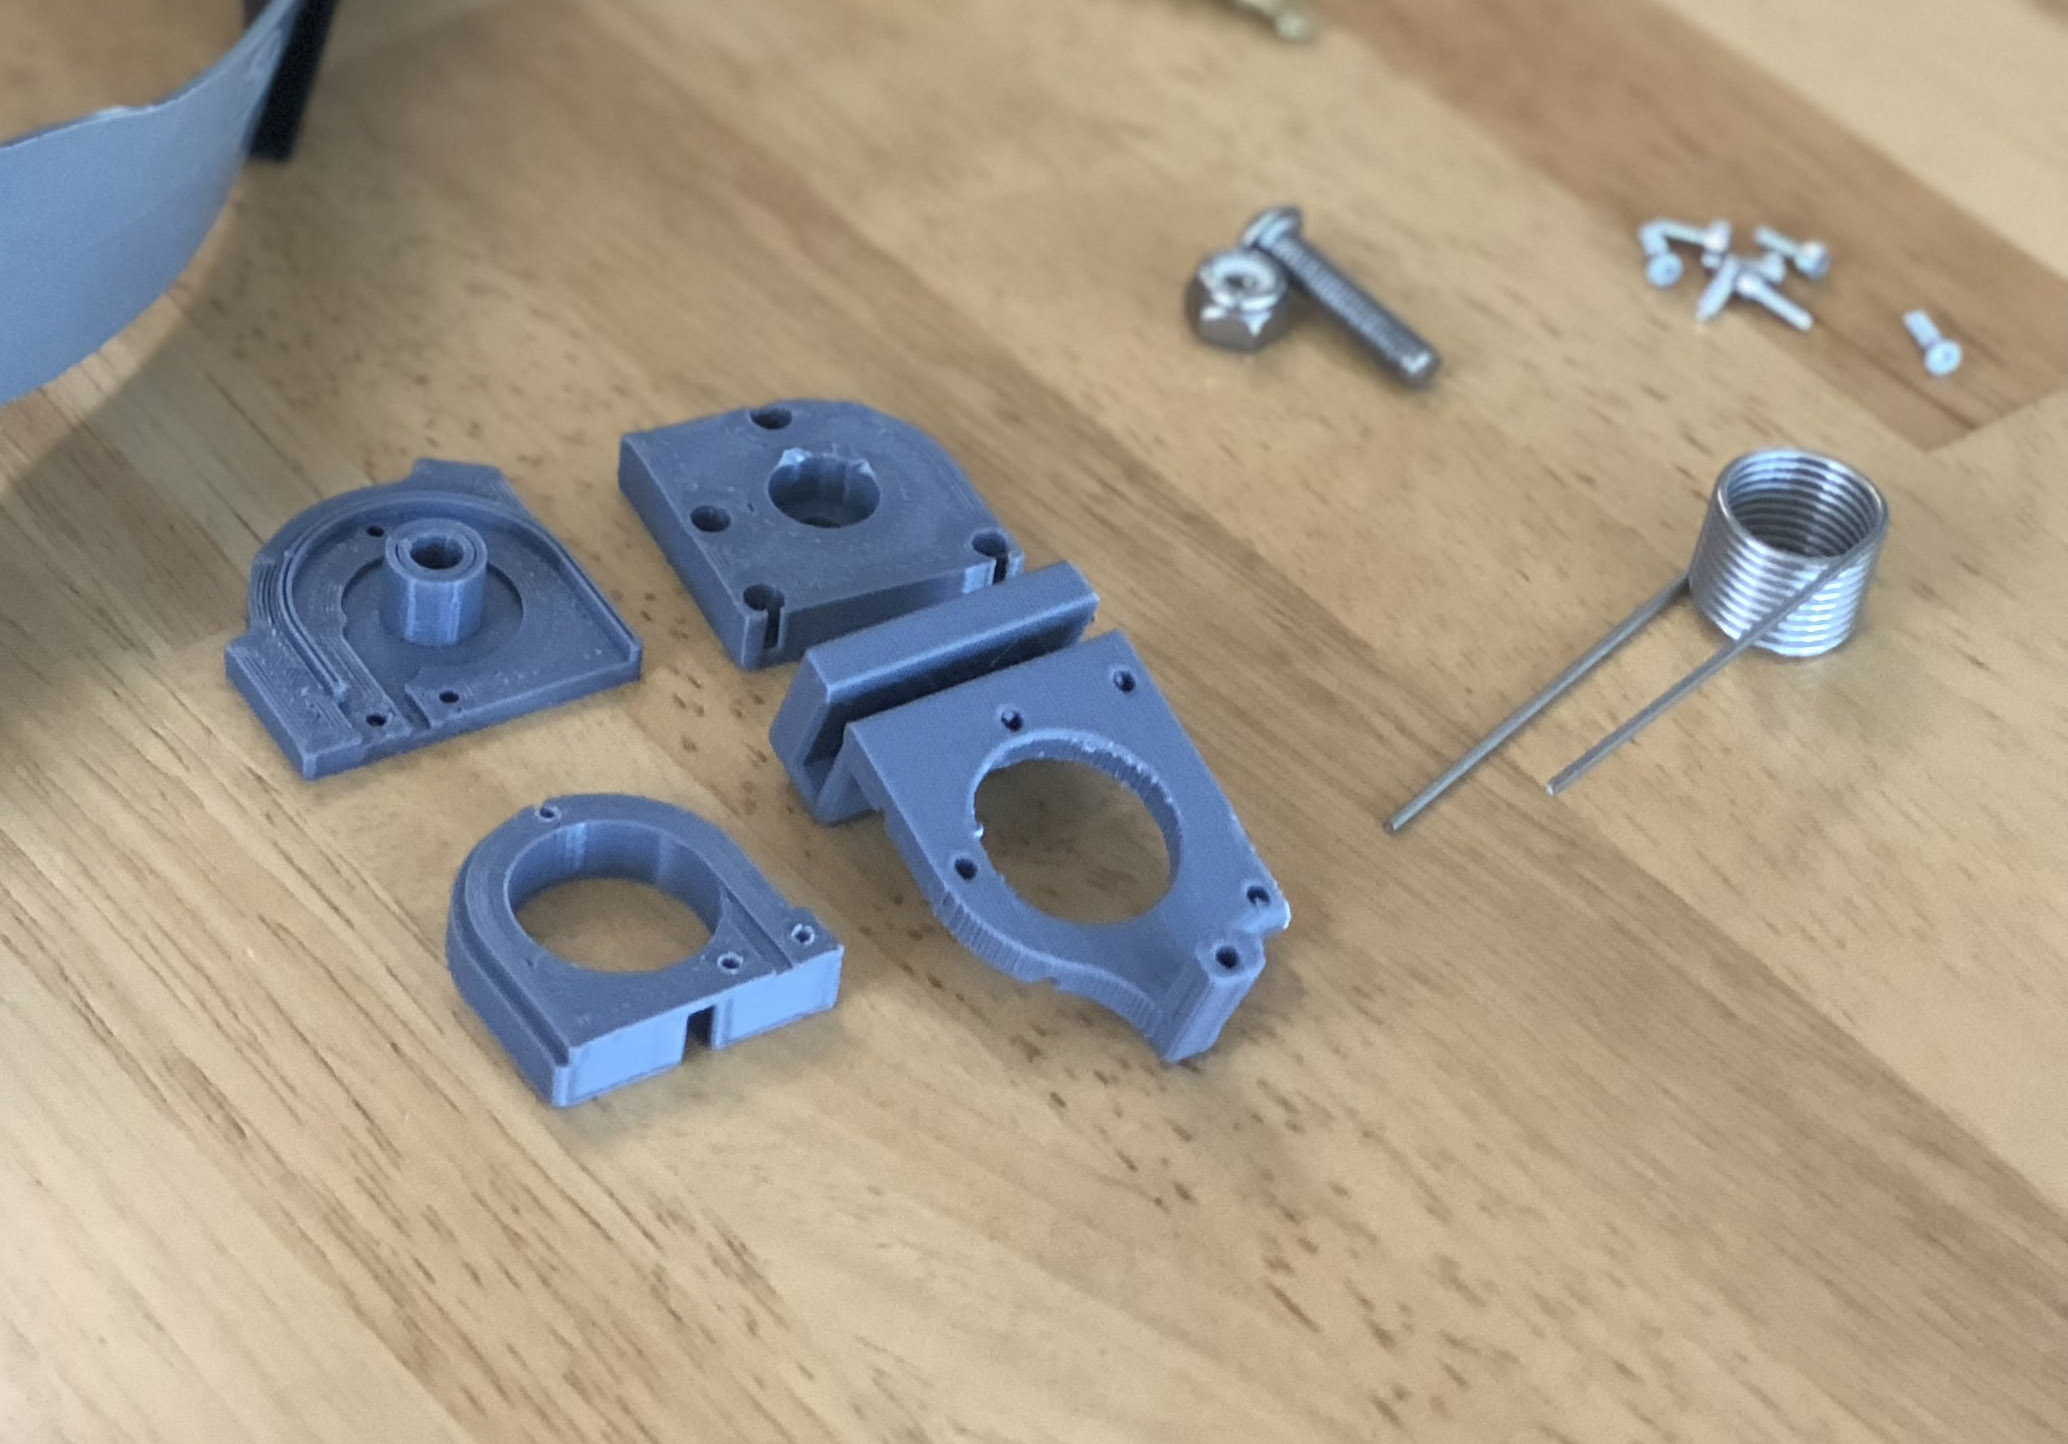
Hinges (left and right pairs)
There are two styles of hinges to choose from depending on the headgear you're using.
Hinges for Miller branded headgear:
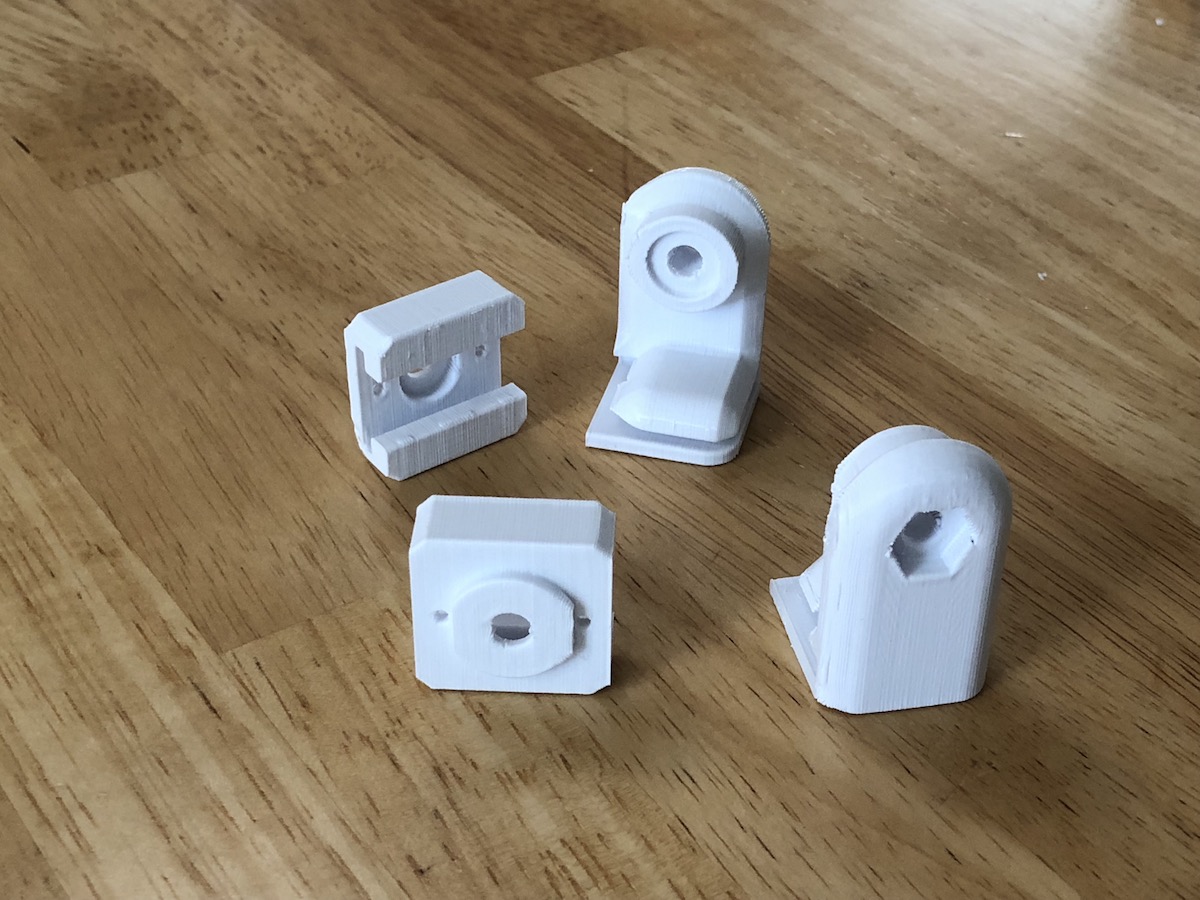
Hinges for 3M Speedglas branded headgear:
| layer height | 0.25mm |
| infill | 20% rectilinear |
| top/bottom layers | 3 |
| perimeter walls | 2 |
| temperature | 200 C |
| supports | yes |
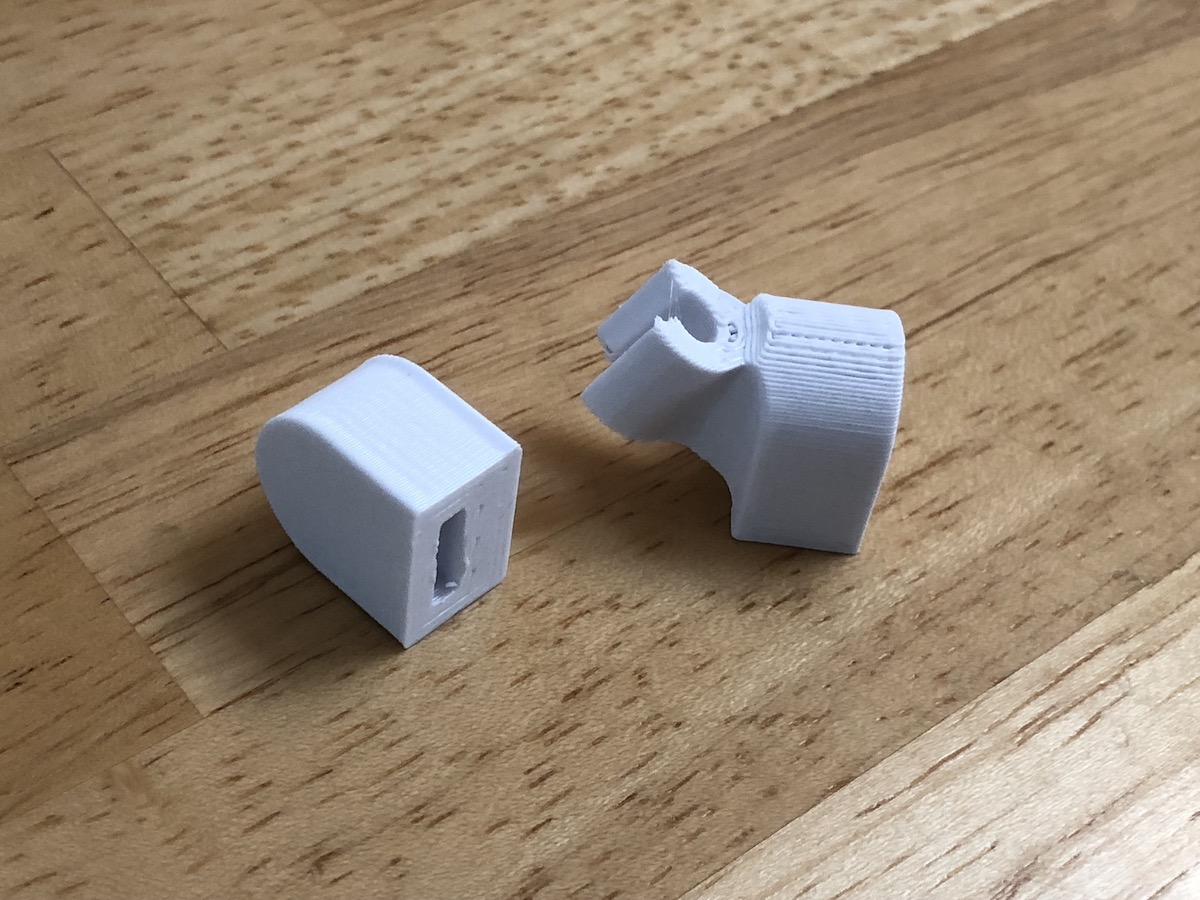
Slide endcaps
| layer height | 0.25mm |
| infill | 20% rectilinear |
| top/bottom layers | 3 |
| perimeter walls | 2 |
| temperature | 200 C |
| supports | yes |
Back to build guide